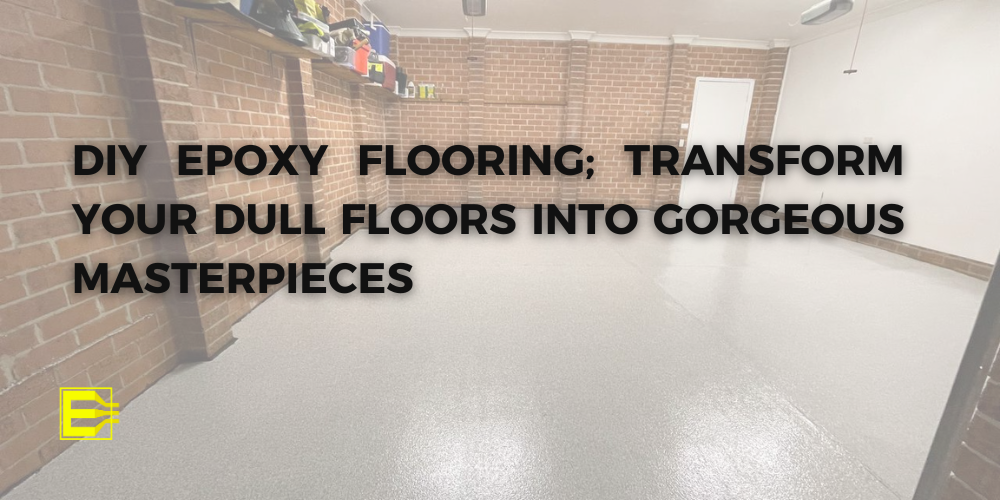
Are you tired of dull, boring floors that lack personality? Look no further! DIY epoxy flooring is the perfect solution to transform your space into a stunning work of art. Whether it’s your garage, basement, or even your living room, this innovative technique allows you to create a seamless and durable surface that will leave everyone in awe. Not only does it add an instant wow-factor to any space, but it also provides long-lasting protection against stains and wear. Get ready to unleash your inner artist and discover the endless possibilities of epoxy flooring DIY!
What is Epoxy Floor Coating?
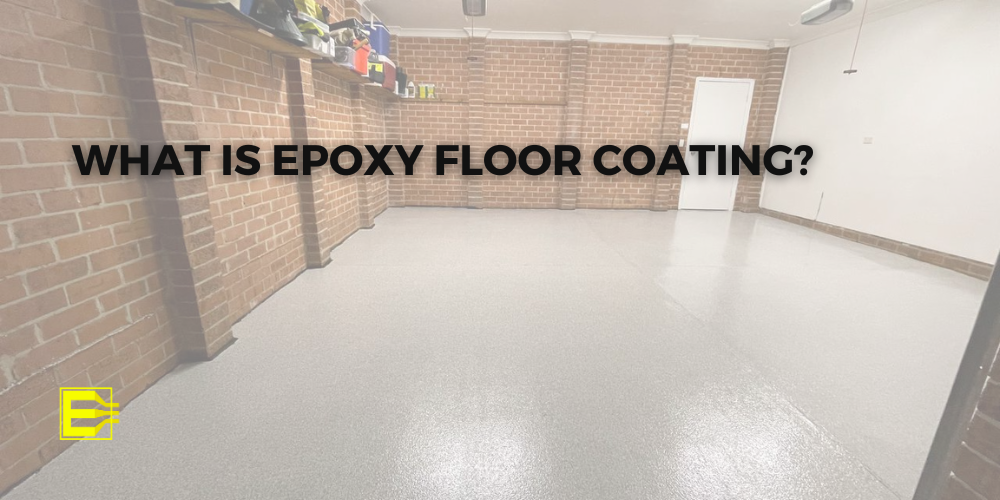
Epoxy flooring is a type of coating that is applied over concrete floors to create a durable, attractive, and easy-to-maintain surface. Epoxy is a resin that is mixed with a hardener and then spread over the floor in thin layers. The epoxy cures and bonds with the concrete, forming a seamless and glossy finish that can resist stains, scratches, chemicals, and impacts.
Epoxy flooring is not only suitable for industrial or commercial settings, but also for residential or DIY projects. You can choose from different colours, patterns, textures, and effects to customize your epoxy floor according to your preferences and needs.
Benefits of DIY Epoxy Flooring
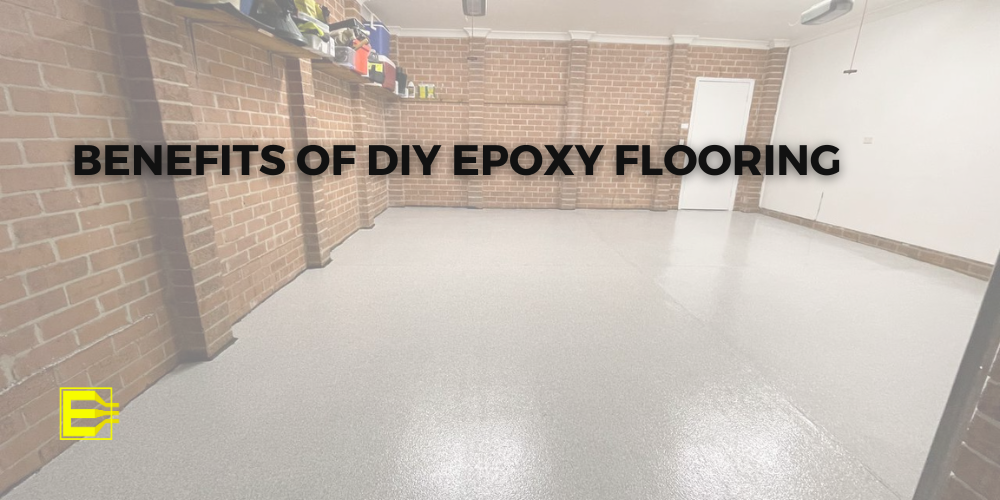
There are many benefits of epoxy flooring DIY, such as:
Saving money
Hiring a professional to install epoxy flooring can cost you anywhere from $3 to $12 per square foot, depending on the complexity and quality of the job. By doing it yourself, you can save up to 50% of the cost and only pay for the materials and tools.
Having more control
When you do epoxy flooring yourself, you have more control over the design, quality, and timing of the project. You can choose the colours, patterns, and effects that suit your taste and style. Also, you can also ensure that the epoxy is applied properly and evenly, and that the floor is prepared well before the coating. You can also work at your own pace and schedule, without having to depend on the availability and reliability of an epoxy flooring contractor.
Learning new skills
Doing epoxy flooring yourself can be a fun and rewarding experience that allows you to learn new skills and improve your DIY abilities. You can also take pride in your work and enjoy the satisfaction of transforming your floor with your own hands.
Materials Needed for DIY Epoxy Flooring
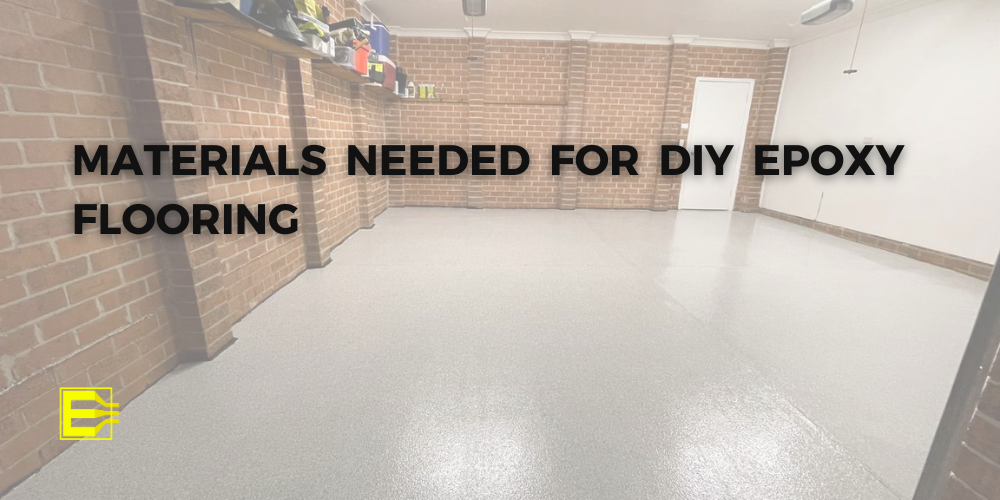
To do epoxy flooring yourself, you will need the following materials:
Epoxy kit
This includes the epoxy resin, hardener, colour pigments, additives, and instructions. You can buy epoxy kits online or at hardware stores. Make sure to buy enough epoxy to cover your floor area with at least two coats.
Concrete cleaner
This is used to clean and degrease the concrete floor before applying the epoxy. You can use a commercial cleaner or a homemade solution of water and vinegar.
Concrete etcher
This is used to create small pores on the concrete surface that will help the epoxy adhere better. You can use a commercial etcher or a solution of water and muriatic acid.
Plastic sheeting
This is used to cover the walls, baseboards, and furniture around the floor area to protect them from spills and splashes of epoxy.
Painter’s tape
This is used to mark off the edges of the floor area and create borders or patterns if desired.
Roller
This is used to apply the epoxy over the floor in smooth and even strokes. You will need a roller frame, an extension pole, and a roller cover. Choose a roller cover that is suitable for epoxy coatings, such as a 3/8-inch nap synthetic cover.
Squeegee
This is used to spread the epoxy over the floor in thin layers. You can use a metal or plastic squeegee with a rubber blade.
Mixing bucket
This is used to mix the epoxy resin and hardener according to the instructions. You will need a large bucket that can hold at least one gallon of epoxy.
Stir stick
This is used to stir the epoxy mixture until it is well blended. You can use a wooden or metal stick that is long enough to reach the bottom of the bucket.
Gloves
This is used to protect your hands from contact with the epoxy, which can cause skin irritation or allergic reactions. You can use disposable latex or nitrile gloves.
Safety glasses
This is used to protect your eyes from splashes or fumes of epoxy, which can cause eye irritation or damage. You can use any type of safety glasses that fit comfortably over your eyes.
Respirator
This is used to protect your lungs from inhaling epoxy vapors, which can cause respiratory problems or damage. You can use a half-face respirator with organic vapor cartridges that are rated for epoxy use.
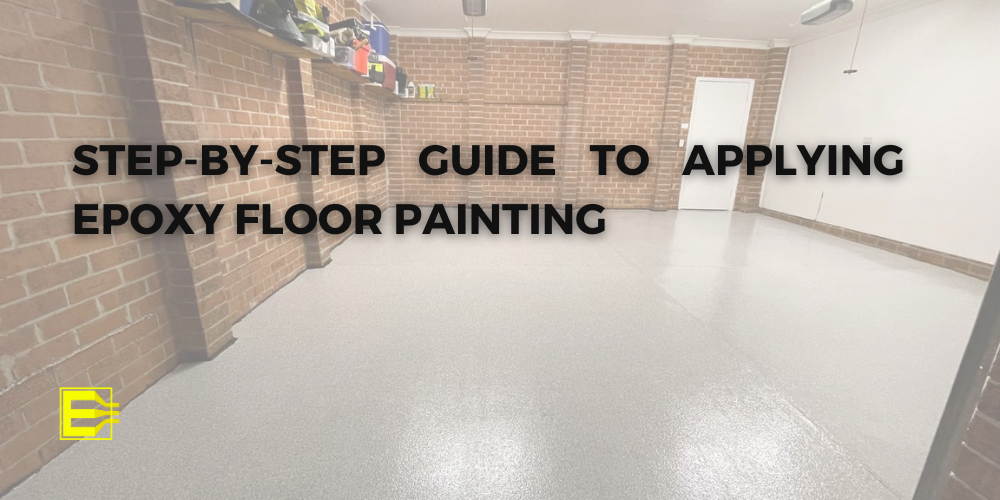
Step-by-Step Guide to Applying Epoxy Floor Painting
Here are the steps to follow when applying epoxy flooring yourself:
1. Prepare the floor
The first step is to prepare the concrete floor for the epoxy coating. You will need to clean, etch, and dry the floor before applying the epoxy.
– Clean the floor: Use a broom or vacuum to remove any dust, dirt, debris, or loose particles from the floor. Then, use a concrete cleaner to remove any grease, oil, stains, or contaminants from the floor. Follow the instructions on the cleaner label and rinse the floor thoroughly with water. Let the floor dry completely before moving to the next step.
– Etch the floor: Use a concrete etcher to create small pores on the concrete surface that will help the epoxy adhere better. Follow the instructions on the etcher label and apply the etcher evenly over the floor with a plastic sprayer or a mop. Let the etcher react with the concrete for about 15 minutes, then rinse the floor thoroughly with water. Let the floor dry completely before moving to the next step.
– Dry the floor: Use a squeegee or a towel to remove any excess water from the floor. Then, use a fan or a dehumidifier to speed up the drying process. Make sure that the floor is completely dry before applying the epoxy. The ideal moisture level for epoxy application is less than 4%.
2. Mix the epoxy
The second step is to mix the epoxy resin and hardener according to the instructions on the epoxy kit. You will need to mix enough epoxy for one coat at a time, as epoxy has a limited working time once mixed.
– Measure the epoxy: Use a measuring cup or a scale to measure the correct ratio of epoxy resin and hardener. The ratio may vary depending on the type and brand of epoxy you are using, but it is usually 1:1 or 2:1.
– Mix the epoxy: Use a mixing bucket and a stir stick to mix the epoxy resin and hardener until they are well blended. Scrape the sides and bottom of the bucket to ensure that there are no unmixed parts. Add any colour pigments or additives if desired and mix well. The mixing time may vary depending on the type and brand of epoxy you are using, but it is usually 2 to 5 minutes.
– Transfer the epoxy: Use a smaller bucket or a container to transfer some of the mixed epoxy for easier application. Do not fill the container more than half way, as epoxy can generate heat and expand when mixed.
3. Apply the epoxy
The third step is to apply the epoxy over the floor in thin and even layers. You will need to work quickly and carefully, as epoxy has a limited pot life once mixed.
– Cover the edges: Use a paintbrush or a small roller to apply epoxy along the edges of the floor area. This will create a border that will prevent epoxy from dripping over the sides. You can also use painter’s tape to mark off the edges and create patterns if desired.
– Spread the epoxy: Use a squeegee to spread epoxy over the floor in thin layers. Start from one corner of the floor and work your way across in parallel rows. Overlap each row slightly to avoid gaps or bubbles. Make sure that you cover every inch of the floor with epoxy.
– Roll the epoxy: Use a roller to roll over the epoxy in smooth and even strokes. Start from one corner of
the floor and work your way across in perpendicular rows. Overlap each row slightly to avoid gaps or bubbles. Make sure that you remove any excess or uneven epoxy with the roller.
– Add any effects: If you want to create any effects on your epoxy floor, such as flakes, glitter, metallics, or swirls, you can add them at this stage. Sprinkle or pour them over the wet epoxy according to your preference and design.
4. Repeat for second coat
The fourth step is to repeat steps 2 and 3 for applying a second coat of epoxy over the first coat. This will enhance the durability, appearance, and protection of your epoxy floor. Wait for the first coat to dry slightly before applying the second coat. The drying time may vary depending on the type and brand of epoxy you are using, but it is usually 12 to 24 hours.
5. Let it cure
The final step is to let your epoxy floor cure completely before using it. The curing time may vary depending on the type and brand of epoxy you are using, but it is usually 3 to 7 days. Do not walk on or place anything on your epoxy floor until it is fully cured.
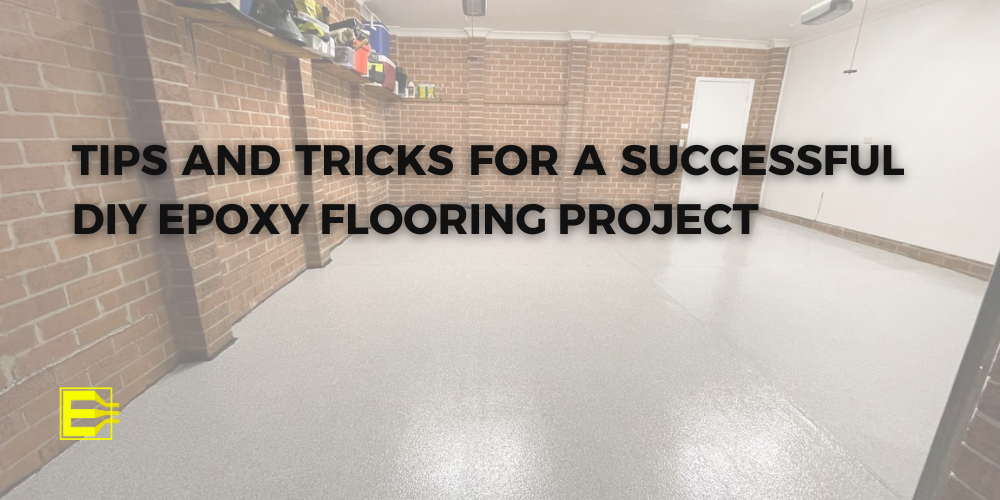
Tips and Tricks for a Successful DIY Epoxy Flooring Project
Here are some tips and tricks that can help you achieve a successful DIY project:
Choose a suitable epoxy kit
There are different types and brands of epoxy kits available in the market, each with different features, qualities, and prices. Choose an epoxy kit that suits your budget, preference, and needs. Some factors to consider are:
– Coverage: This is how much area one gallon of epoxy can cover with one coat. The coverage depends on the thickness and quality of the epoxy. Generally, one gallon of epoxy can cover about 200 to 300 square feet with one coat.
– Pot life: This is how long the mixed epoxy remains workable before it starts to harden. The pot life depends on the temperature and humidity of the environment. Generally, the pot life of epoxy is about 30 to 60 minutes.
– Curing time: This is how long it takes for the epoxy to dry and harden completely. The curing time depends on the type and brand of epoxy, as well as the temperature and humidity of the environment. Generally, the curing time of epoxy is about 3 to 7 days.
– Colour and effects: This is how the epoxy looks like when it is applied and cured. You can choose from different colours, patterns, textures, and effects to customize your epoxy floor. Some common options are:
– Solid colour: This is a simple and classic option that gives your floor a uniform and smooth colour. You can choose from a variety of colours, such as gray, white, black, blue, red, green, etc.
– Flakes: This is a popular option that adds some texture and contrast to your floor. Flakes are small pieces of coloured plastic that are sprinkled over the wet epoxy. You can choose from different sizes, shapes, and colours of flakes, such as chips, quartz, mica, etc.
– Glitter: This is a fun and flashy option that adds some sparkle and shine to your floor. Glitter is fine particles of metallic or holographic material that are poured over the wet epoxy. You can choose from different colours and effects of glitter, such as silver, gold, rainbow, etc.
– Metallics: This is a sophisticated and elegant option that gives your floor a metallic and reflective look. Metallics are pigments that are mixed with the epoxy resin and create swirls and patterns when applied. You can choose from different colours and effects of metallics, such as copper, bronze, steel, pearl, etc.
– Swirls: This is a creative and artistic option that gives your floor a unique and abstract look. Swirls are created by using different colours of epoxy and swirling them together with a stick or a brush. You can create any design or pattern you want with swirls.
Choose a suitable time and place
The success of your DIY project also depends on when and where you do it. Some factors to consider are:
– Temperature: The ideal temperature for epoxy application is between 60°F and 80°F. If it is too hot or too cold, the epoxy may not cure properly or may crack or peel. Avoid doing epoxy flooring in extreme weather conditions or in direct sunlight.
– Humidity: The ideal humidity for epoxy application is between 40% and 60%. If it is too humid or too dry, the epoxy may not adhere well or may bubble or blister. Avoid doing epoxy flooring in rainy or snowy days or in areas with high moisture levels.
– Ventilation: The adequate ventilation for epoxy application is important for your health and safety. Epoxy can emit harmful vapors that can cause eye, skin, or respiratory irritation or damage. Make sure that you have enough fresh air circulation in your work area by opening windows or doors or using fans or exhaust systems.
– Follow the instructions carefully: The most important tip for a successful DIY project is to follow the instructions on the epoxy kit carefully and precisely. Do not skip any steps or modify any ratios or times. Read the instructions before you start and follow them throughout the project. If you have any questions or doubts, contact the manufacturer or consult an expert.
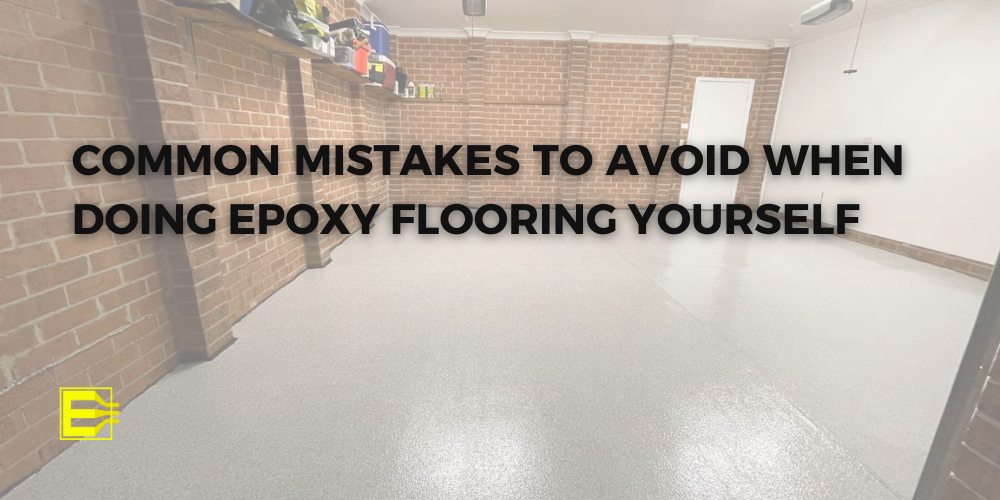
Common Mistakes to Avoid when Doing Epoxy Flooring Yourself
Here are some common mistakes that you should avoid when doing epoxy flooring yourself:
Not preparing the floor well
One of the most common mistakes is not cleaning, etching, or drying the floor well before applying the epoxy. This can result in poor adhesion, uneven coating, or peeling of the epoxy. Make sure that you remove any dust, dirt, grease, oil, stains, or contaminants from the floor with a concrete cleaner. Then, create small pores on the concrete surface with a concrete etcher to help the epoxy bond better. Finally, dry the floor completely with a squeegee, a towel, a fan, or a dehumidifier. The ideal moisture level for epoxy application is less than 4%.
Not mixing the epoxy well
Another common mistake is not measuring, mixing, or transferring the epoxy well before applying it. This can result in improper curing, uneven colour, or weak coating of the epoxy. Make sure that you measure the correct ratio of epoxy resin and hardener with a measuring cup or a scale. Then, mix them well with a stir stick until they are well blended. Finally, transfer some of the mixed epoxy to a smaller container for easier application. Do not mix more epoxy than you can use within the pot life.
Not applying the epoxy well
A third common mistake is not applying the epoxy well over the floor in thin and even layers. This can result in bubbles, gaps, or streaks on the epoxy floor. Make sure that you cover the edges of the floor area with a paintbrush or a small roller first. Then, spread the epoxy over the floor in thin layers with a squeegee. Finally, roll over the epoxy in smooth and even strokes with a roller. Do not apply too much or too little epoxy on any part of the floor.
Not waiting for the epoxy to cure
A final common mistake is not waiting for the epoxy to cure completely before using it. This can result in damage, cracking, or peeling of the epoxy floor. Make sure that you wait for the first coat to dry slightly before applying the second coat. Then, wait for the second coat to cure completely before walking on or placing anything on your epoxy floor. The curing time may vary depending on the type and brand of epoxy you are using, but it is usually 3 to 7 days.
Conclusion: Enjoy the Beauty of Your DIY Epoxy Floor
By following these steps and tips, you can successfully do epoxy flooring yourself and enjoy the beauty of your DIY epoxy floor. Epoxy flooring is a great way to transform your concrete floor into a durable, attractive, and easy-to-maintain surface that can suit any style and need. You can also save money, have more control, and learn new skills by doing it yourself. Epoxy flooring is not only suitable for industrial or commercial settings, but also for residential or DIY projects.
We hope this article was helpful and informative for you. If you have any questions or feedback, please feel free to contact me. Thank you for reading and happy DIY-ing!